STEP 1
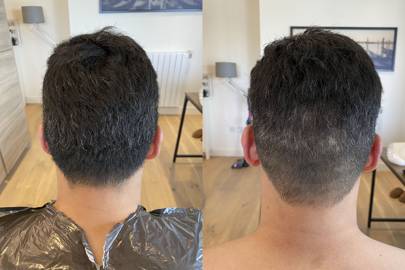
Decide the gradient. It's a good idea to choose between three and four different gradients, depending on the desire height of the fade. If he likes to keep more length on top, you'll only need to opt for three.
STEP 2
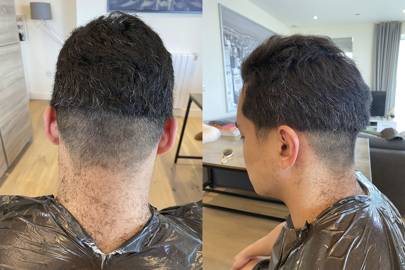
Starting with the shortest gradient (lowest number) first, run the clippers through the hair from the neck to the top of the ears, not forgetting the sideburns. Sweep in an upwards motion, and once you reach the ears lift the clippers away from the hair with an upwards, outwards flick. This will give the slight, opening gradient and avoid any blunt edges.
STEP 3
Ensure you shake the clippers every so often to remove any hair lodged between the blades, as this could cause them to clog and malfunction, resulting in an awkward ten minute recharge whilst your partner's hair looks like a mushroom.

STEP 4
Begin your second gradient (second lowest number) and continue with an upwards, outwards flick 2-3cm higher than your previous, ear-height line. This is your first look at the 'fade', so keep an eye on the graduation and make sure there's not an obvious line. If there is, go over it again with this gentler blade length.
STEP 5
If you're going for a higher fade, continue Step 4 with your third choice gradient (third lowest number) for another 1-2cm.
STEP 6
Select your final gradient (highest number) and blend the most recent section with the fuller top. This blade length will be very subtle and will serve only to thin and blend the bulk on top with the previous level.
STEP 7
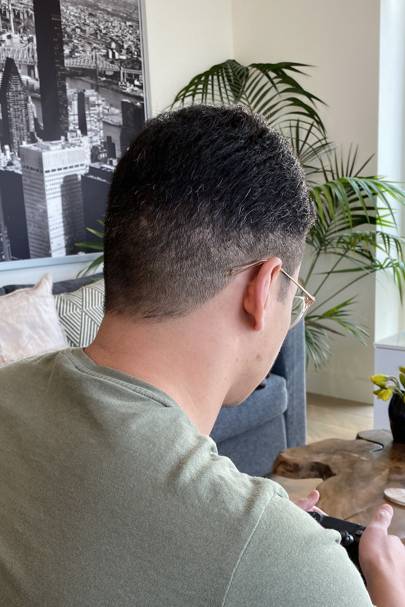
Ta-da! Depending on the result, either apply for your salon apprenticeship immediately or run and hide from your partner for the reminder of isolation.


0 Comments